How to run database, backend and frontend in a single-click with Docker Compose
Table of Contents
In this blog post I would like to show you how easy you can run 3 different Docker containers all at once using single command.
Docker Compose #
In order to understand what problem Docker Compose solves you need to understand what Docker, or more general containerization, do.
Basically Docker containers are applications and all dependencies (libraries, artifacts, etc.) which are required to run it. For example all Java applications needs to have JDK installed on the machine where you would like to compile your code. Thanks to Docker you don’t need to install any of it so the software can be ran wherever you want.
So Docker solves the problem ‘Works on my machine’. Great! But what next?
As you might already heard it, nowadays one of the most popular architecture pattern are microservices. Each microservice is a small app designed to do only little part the entire system. They are put into the containers (usually Docker) and interact with each other (usually by HTTP REST API).
So now we can have a problem. If you’re building such complex system with multiple services you might end up with hundreds of such containers. And such is very hard to manage. Imagine the situation when you want to run all of them, and if you try to do so only with ‘vanilla’ Docker you may waist an entire day just typing the commands for each microservice!
But likely there is a hope! Docker Compose.
This tool can help you build Docker images and run containers based on a single file docker-compose.yml!
How it looks like and how you can use it? This is what I would like to show you, but first let me introduce my project which should help you understand the idea of Docker Compose.
Kanban Application #
Kanban Board — is a simple implementation of a kanban board, tool that was first introduced in Toyota automotive and now it’s widely used software development for managing tasks. If you want to know more about it go check What is a Kanban Board? video to help you understand it basic concept.
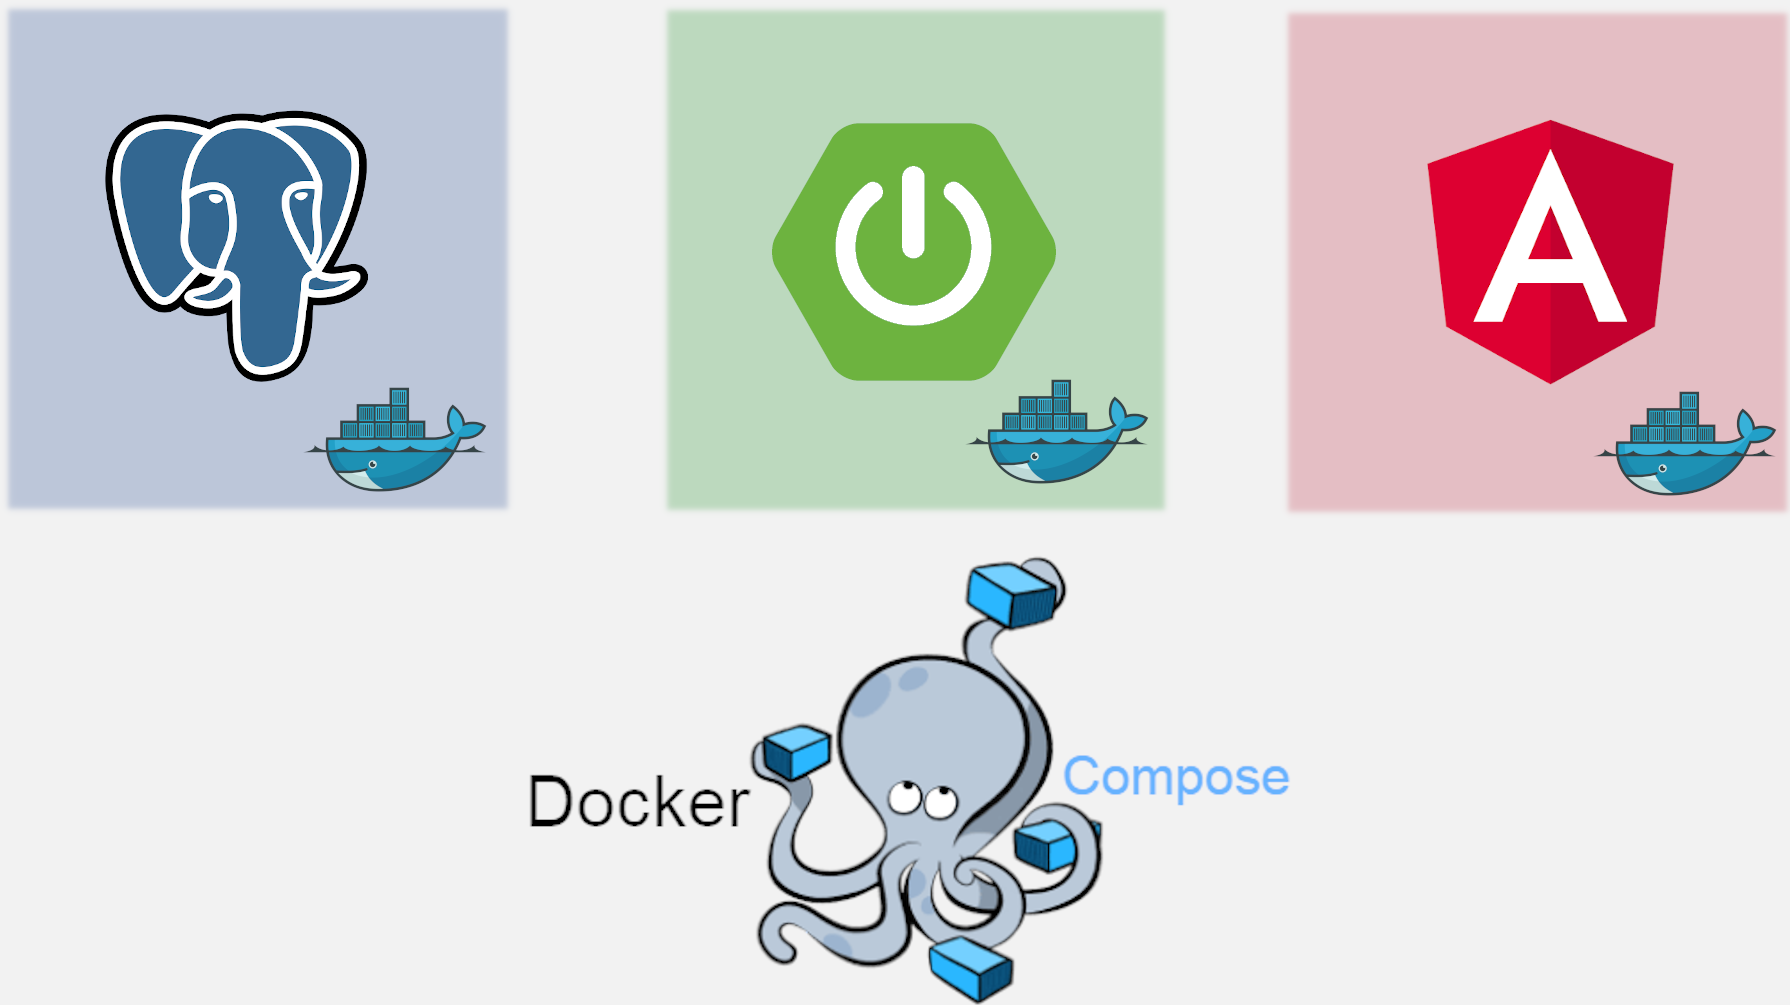
My small application is made of 3 smaller pieces:
kanban-postgres — PostgreSQL database,
kanban-app — Java based application, it connects to database and expose REST endpoints, its written with Spring Boot,
kanban-ui — Angular, frontend application, it consumes the REST endpoints provided by the backend service.
Prerequisites #
In order to follow me you will need to have Docker installed on your machine. The best part is that you don’t need to have installed all the dependencies, like PostgreSQL, Java or Angular to run the app. The only thing that you need to install is Docker!
Instructions how to install Docker on Ubuntu , Windows , Mac.
Docker Compose is already included in installation packs for Windows and Mac, so only Ubuntu users needs to follow this instructions.
Let’s run it! #
Now the fun part. First git clone my project from my GitHub repository, it can be done with a command (in the terminal):
git clone https://github.com/wkrzywiec/kanban-board.git
Next, in the terminal enter the root folder of the project and type the command:
docker-compose up
Now, you need to wait couple minutes so all 3 Docker containers will be up and running. After that you’ll be able to enter a frontend in a browser with a link: http://localhost:4200.

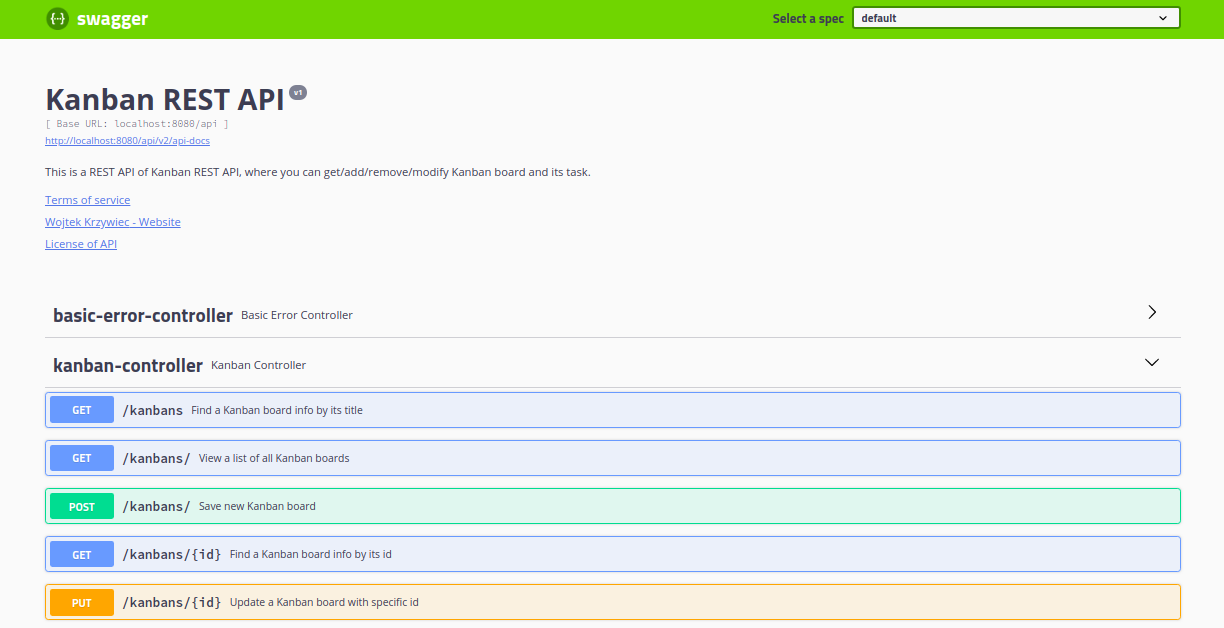
Awesome! If you want check what REST endpoint the backend is providing you can its Swagger UI page, and which is reachable from the url: http://localhost:8080/api/swagger-ui.html.
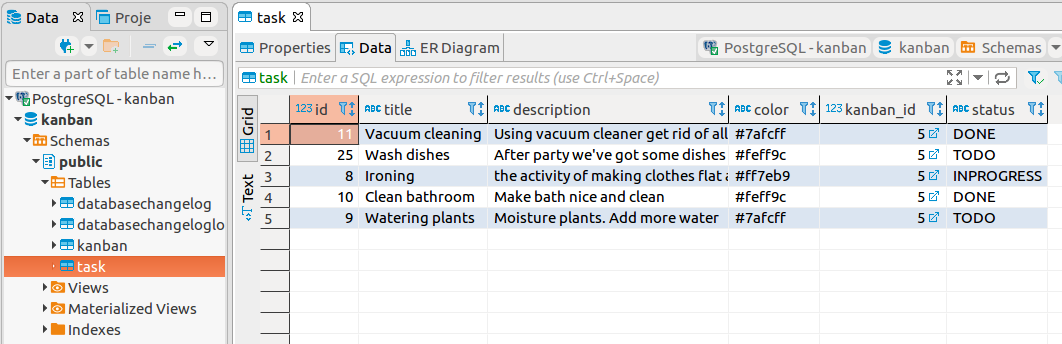
And if you’re a database geek you can also connect to it using PgAdmin, Dbeaver or other database client app with following credentials:
Host: localhost
Database: kanban
User: kanban
Password: kanban
If you want to stop all these apps all at once you can run the command:
docker-compose down
docker-compose.yml #
Ok, so how this magic really works? The key to is a configuration file docker-compose.yml located in the root folder of my project.
version: '3'
services:

  kanban-postgres:
    image: "postgres:9.6-alpine"
    container_name: kanban-postgres
    volumes:
      - kanban-data:/var/lib/postgresql/data
    ports:
      - 5432:5432
    environment:
      - POSTGRES_DB:kanban
      - POSTGRES_USER:kanban
      - POSTGRES_PASSWORD:kanban

  kanban-app:
    build: ./kanban-app
    container_name: kanban-app
    environment:
      - DB_SERVER=kanban-postgres
    ports:
      - 8080:8080
    links:
      - kanban-postgres

  kanban-ui:
    build: ./kanban-ui
    container_name: kanban-ui
    ports:
      - 4200:80
    links:
      - kanban-app


volumes:
  kanban-data:
Let’s break it piece by piece.
version: 3— this indicates a version of a Compose file, the latest one is the 3 and that’s way I picked it (more info about versioning of Compose file can be found in the official documentation)services: — after this variable you can define all services (applications) that you want to run in one go. In my project there are 3 of them.
kanban-postgres
kanban-postgres:
    image: "postgres:9.6-alpine"
    container_name: kanban-postgres
    volumes:
      - kanban-data:/var/lib/postgresql/data
    ports:
      - 5432:5432
    environment:
      - POSTGRES_DB:kanban
      - POSTGRES_USER:kanban
      - POSTGRES_PASSWORD:kanban
image— defines the Docker image that will be the base of the kanban-postgres container. In this case it’s Postgres image taken from Docker Hub. Alpine version is much smaller than the usual one.container_name— specifies the name of the outcome container.volumes— refers to Docker Volumes, which can be treated as a data storage of the database.kanban-datais a name of a volume that will be created during first Compose run (it’s defined at the bottom of the docker-compose.yml)./var/lib/postgresql/datais a place on the host (your PC) where data are stored.
If you want to know more about Docker Volumes and databases in Docker containers you can check my previous entry about this topic.
ports— here we map a port of your PC (5432) to the exposed port of the container (5432).environment— here you can define environment variables that will be inside Docker container. You can define your own or, like I did, overwrite the already existing one.
In postgres:9.6-alpine Docker image there are several variables that defines the name of the user, database and others. By simple replacing them with your own you can adjust them to your needs. For my project I wanted to have the database, user name and user password to be the same and have value kanban.
kanban-app
 kanban-app:
    build: ./kanban-app
    container_name: kanban-app
    environment:
      - DB_SERVER=kanban-postgres
    ports:
      - 8080:8080
    links:
      - kanban-postgres
build— this one is similar to theimagefrom the previous example, but instead of using already prepared Docker image, Compose needs to create one based on Dockerfile. And such is located in the folderkanban-appwhere is the code of Spring Boot app.
### STAGE 1: Build ###
FROM maven:3.6.1-jdk-8-slim AS build
RUN mkdir -p /workspace
WORKDIR /workspace
COPY pom.xml /workspace
COPY src /workspace/src
RUN mvn -f pom.xml clean package

### STAGE 2: Run ###
FROM openjdk:8-alpine
COPY --from=build /workspace/target/*.jar app.jar
EXPOSE 8080
ENTRYPOINT ["java","-jar","app.jar"]
The above Dockerfile consists two build stages. In a first one (2–7 line) the code of an app is compiled to the jar file and then in the second stage (10–13 line) the jar file is copied to it and then run in a new container.
Each stage is a different Docker image, but only the last one is used as the outcome. The reason for this approach is to make a resulting Docker container as thin as it could be — it should contain only the compiled jar file without source code.
container_name— express the name of the resulting container.environment— like before, it contains environment variables, but this time it’s my own variable. It’s used in database connection properties file:
spring.datasource.url=jdbc:postgresql://${DB_SERVER}/kanban
spring.datasource.username=kanban
spring.datasource.password=kanban
spring.liquibase.change-log=classpath:/db/changelog/db.changelog-master.xml
ports— similar to previous example, it maps the port of your host to the container’s.links— it express the dependency of a kanban-app to a database service kanban-postgres.
kanban-ui
kanban-ui:
    build: ./kanban-ui
    container_name: kanban-ui
    ports:
      - 4200:80
    links:
      - kanban-app
Nothing new is added to definition of this service. Similar to previous ones it defines the container_name , ports (this time the host’s 4200 port is mapped to the container’s 80 ) and links it to the backend service.
The only difference is that a base Docker image needs to be built and it’s located in kanban-ui folder, where Angular code is located with it’s Dockerfile.
### STAGE 1: Build ###
FROM node:12.7-alpine AS build
WORKDIR /usr/src/app
COPY package.json ./
RUN npm install
COPY . .
RUN npm run build

### STAGE 2: Run ###
FROM nginx:1.17.1-alpine
COPY default.conf /etc/nginx/conf.d/default.conf
COPY --from=build /usr/src/app/dist/kanban-ui /usr/share/nginx/html
EXPOSE 80
Similar to Java container it has two build stages, first one for compilation and second one for running compiled project. And because the application is running on nginx server there is also some default configuration added to it (line COPY default.conf /etc/nginx/conf.d/default.conf). More information about multi-stage Docker build for Angular project you can find in my previous blog post.
Docker Compose commands #
When you’ll be playing around with Docker Compose you might want to use also different CLI commands that it offers. The full list can be found on the official website, but found these the most useful during development of my app:
docker-compose up -d --force-recreate
The -d flag runs all the containers in the detach mode — all containers run in the background, so you can use a terminal for other purposes.
The --force-recreate flag will stop all old containers that are running and will create them from scratch. It was very useful when I’ve done some changes to several application at once.
docker-compose down --rmi all
Above command stops and removes all images.
Limitation of Docker Compose #
At the end I want to share with you what I didn’t like about Docker Compose.
When I was working on kanban-ui several times I’ve stomped on the problem that some of required functionality wasn’t implemented on the backend side. Therefore I was forced to stop all containers, make a change, run Compose again and then test it. And that takes me a lot of time because building a Java and Angular image takes several minutes, which forced me to stair on the wall during this process.
Nevertheless, it awesome tool to use, especially when you’re working on multi-service project and you develop only single service.
As usual, you can check the entire Kanban Board project in my Github repository: wkrzywiec/kanban-board on github.com
References #
- Get started with Docker Compose on docs.docker.com
- Introduction to Docker Compose on baeldung.com
- A Practical Introduction to Docker Compose on hackernoon.com
- Running PostgreSQL using Docker Compose on linuxhint.com
- Simplify web application deployment with Docker Compose on medium.com
- Spring Boot + Docker Compose Example with MySQL and NGINX on hellokoding.com
- Connection to postgres not working through docker-compose network · Issue #297 on github.com